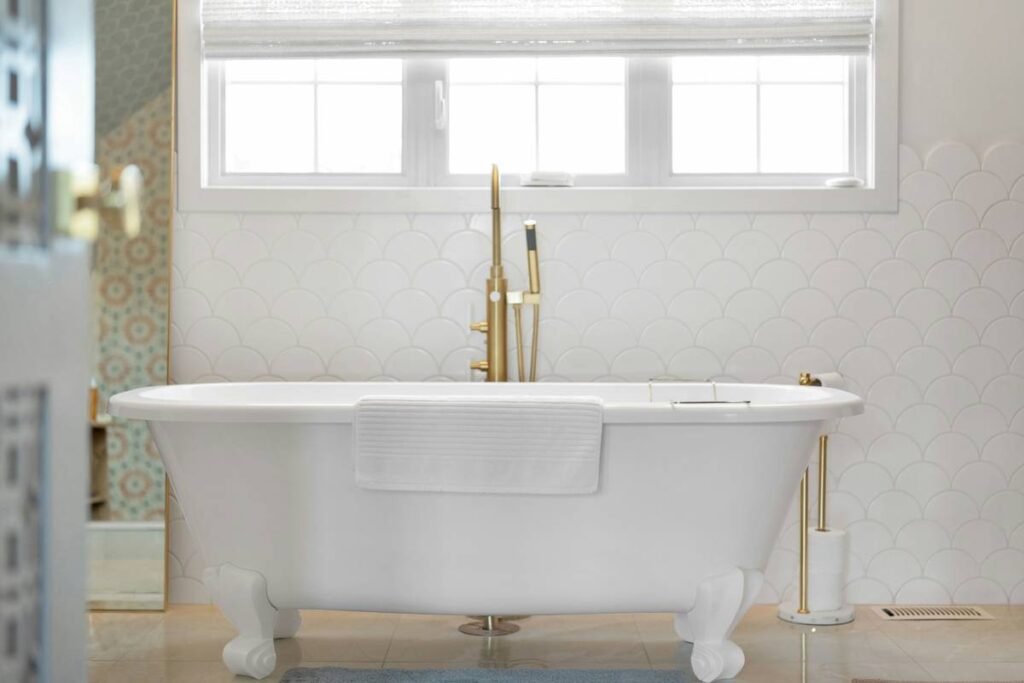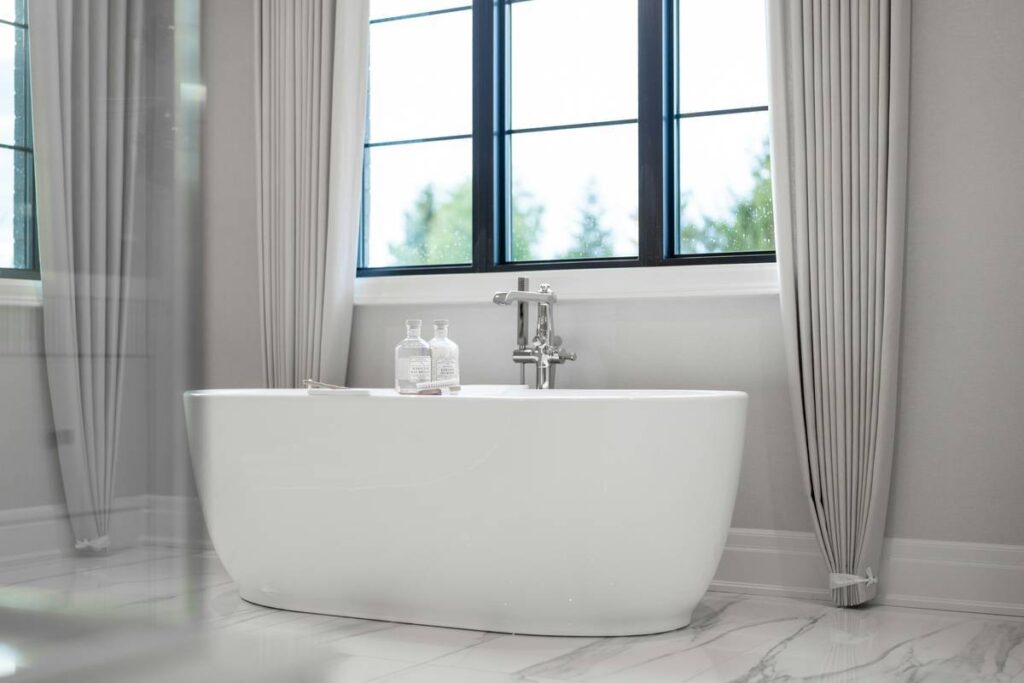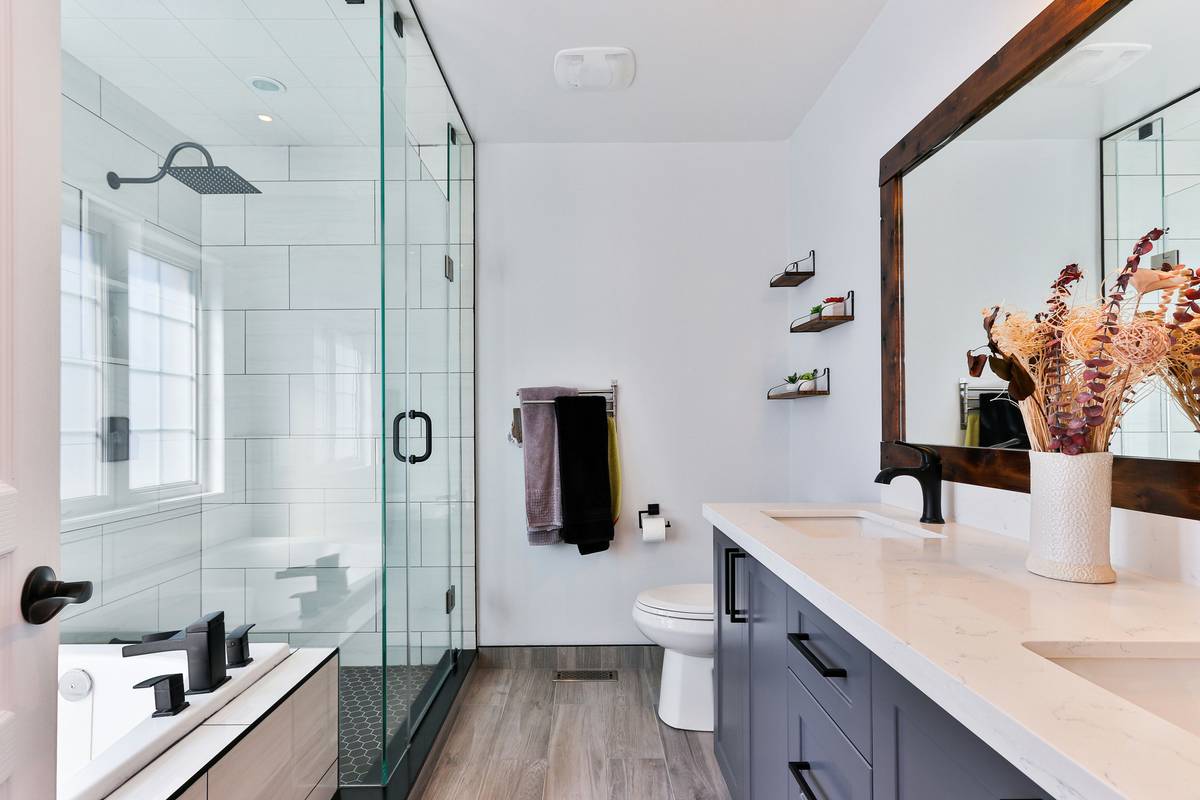
If you’ve ever stared longingly at a vintage clawfoot tub in a home renovation show—only to picture it cracking your tile floor or blocking your shower spray—you’re not alone. Clawfoot tubs blend timeless elegance with serious functional pitfalls. In this guide, we’ll walk you through real-world clawfoot tub bathroom ideas that balance beauty and practicality, drawing from hard-won lessons (yes, I once installed one without checking door clearance—spoiler: it didn’t fit).
Table of Contents
- Why Clawfoot Tubs Still Matter in Modern Bathrooms
- Step-by-Step Installation & Layout Planning
- 5 Design Tips for Functional Elegance
- Real-World Examples That Nailed It
- Frequently Asked Questions
Key Takeaways
- Measure doorways, floor load capacity, and plumbing access before purchasing.
- Freestanding tubs like clawfoots require strategic placement for drainage and shower compatibility.
- Pair vintage tubs with modern fixtures to avoid a “costume-y” aesthetic.
- Use slip-resistant mats—clawfoot tubs lack built-in grab bars.
- Always consult local building codes; some historic districts restrict modifications.
Why Clawfoot Tubs Still Matter in Modern Bathrooms
Despite sleek, built-in alternatives dominating big-box stores, clawfoot tubs surged 22% in U.S. home renovations between 2020–2023, according to the National Association of Home Builders. Their appeal? Authentic character in an era of mass-produced design. But nostalgia won’t fix a flooded bathroom.
I learned this the hard way during my first renovation: I sourced a gorgeous 1920s cast iron tub, only to realize my second-floor joists couldn’t support its 350-pound dry weight (add 80+ pounds of water and a bather, and you’re flirting with structural strain). Never assume your floor is ready—FEMA’s guidelines on residential load limits recommend professional assessment for fixtures over 200 lbs.
Step-by-Step Installation & Layout Planning
1. Verify Structural Support
Hire a structural engineer if your tub exceeds 300 lbs empty. Cast iron models often weigh 250–400 lbs; acrylic versions run 70–100 lbs but feel less authentic.
2. Map Plumbing Routes
Clawfoot tubs typically use exposed wall or floor-mounted faucets. Confirm you can reroute supply lines without tearing out entire walls. Tip: Choose a tub with pre-drilled faucet holes aligned to your existing setup.
3. Plan Drain Placement
Ensure the tub’s drain aligns within 6 inches of your existing P-trap. Misalignment causes slow drainage and gurgling—a nightmare I endured for three weeks before re-piping.
4. Check Access Points
Measure stairwells and door frames. These tubs are bulky; disassembling them isn’t an option. Rent a dolly with stair-climbing capability if needed.
5 Design Tips for Functional Elegance
- Add a handheld shower wand: Fixed showerheads rarely align with clawfoot tubs. A slide bar lets you rinse without flooding floors.
- Use large-format tiles: Fewer grout lines mean easier cleanup around the tub base.
- Install wall-mounted shelves: Freestanding tubs leave zero storage. Floating shelves keep toiletries accessible without crowding.
- Choose non-slip flooring: Porcelain wood-look tiles with R11+ slip resistance prevent falls.
- Avoid “vintage overload”: Mix eras—pair your clawfoot with matte black fixtures or minimalist mirrors. One “terrible tip” I’ve seen? Installing lace curtains and oil-rubbed bronze everything—it screams “thrift store time machine,” not curated charm.
Real-World Examples That Nailed It
A Portland homeowner transformed a 1910 bungalow bathroom by centering a restored clawfoot tub under a skylight, using DOE-recommended low-E glass to control heat loss. They added a linear drain beneath the tub for seamless wet-room functionality—resulting in a 37% faster resale than comparable listings (per local MLS data).
Another success: a Brooklyn loft used a compact 54-inch acrylic clawfoot to maximize space, pairing it with wall-hung toilets and open shelving. The key? They ran plumbing through adjacent closet walls, avoiding floor demolition entirely—a clever workaround documented in Fine Homebuilding’s 2024 retrofit guide.
Frequently Asked Questions
Can I add a shower to a clawfoot tub?
Yes, but it requires a sturdy curtain rod and waterproofed surrounding walls. Avoid fixed glass enclosures—they clash with the tub’s curves and trap moisture.
How much does clawfoot tub installation cost?
Average costs range from $1,200–$4,500, including plumbing modifications, per HomeAdvisor’s 2025 data. Cast iron models increase labor due to weight handling.
Are clawfoot tubs safe for seniors?
Not without modifications. Add grab bars to adjacent walls and use transfer benches. Always consult accessibility standards like the ADA’s residential guidelines.
Do clawfoot tubs hold heat well?
Cast iron retains heat 3x longer than acrylic, per thermal conductivity studies by the American Society of Heating, Refrigerating and Air-Conditioning Engineers (ASHRAE).
Where can I find authentic vintage clawfoot tubs?
Reputable salvage yards like Habitat for Humanity ReStores or online marketplaces specializing in architectural antiques. Inspect for cracks and enamel wear—refinishing costs can exceed $800.
How do I clean a clawfoot tub without scratching it?
Use pH-neutral cleaners like Bar Keepers Friend Liquid and soft microfiber cloths. Avoid abrasive pads—they remove protective enamel glaze permanently.
Clawfoot tubs aren’t just fixtures—they’re declarations of style that demand respect for both history and physics. If you’re mapping out your own clawfoot tub bathroom ideas, start with measurements, not mood boards. And when in doubt? Reach out to our team—we’ve maneuvered more tubs through narrow stairwells than we’d like to admit. For background on our approach, see our About Us page, and review our commitment to your privacy in our Privacy Policy.
Remember: A tub that fits through the door is worth two in the showroom.