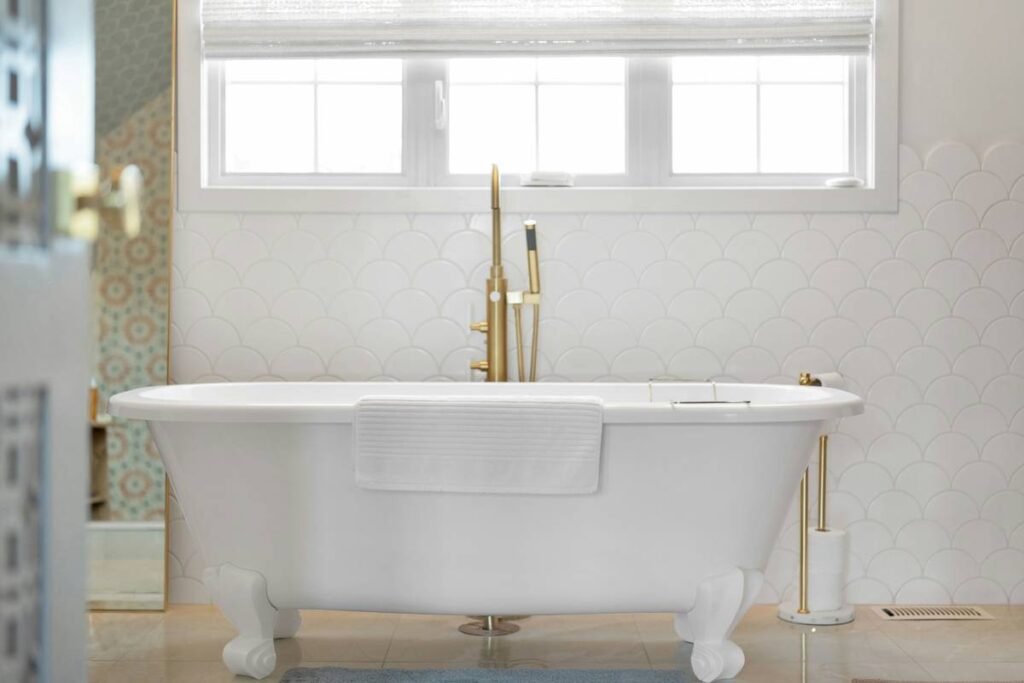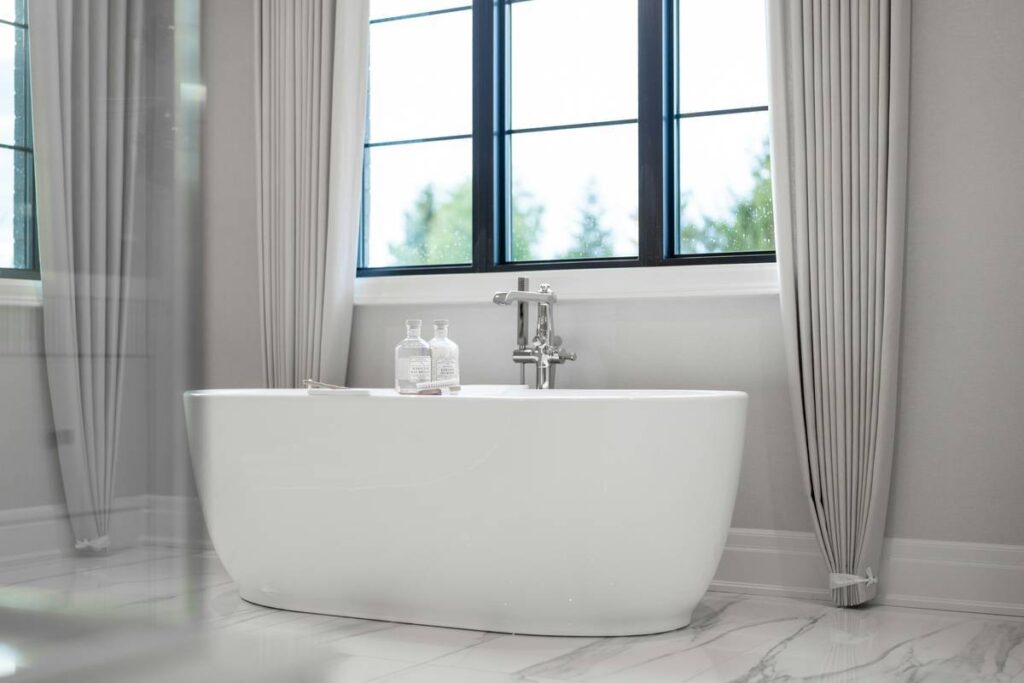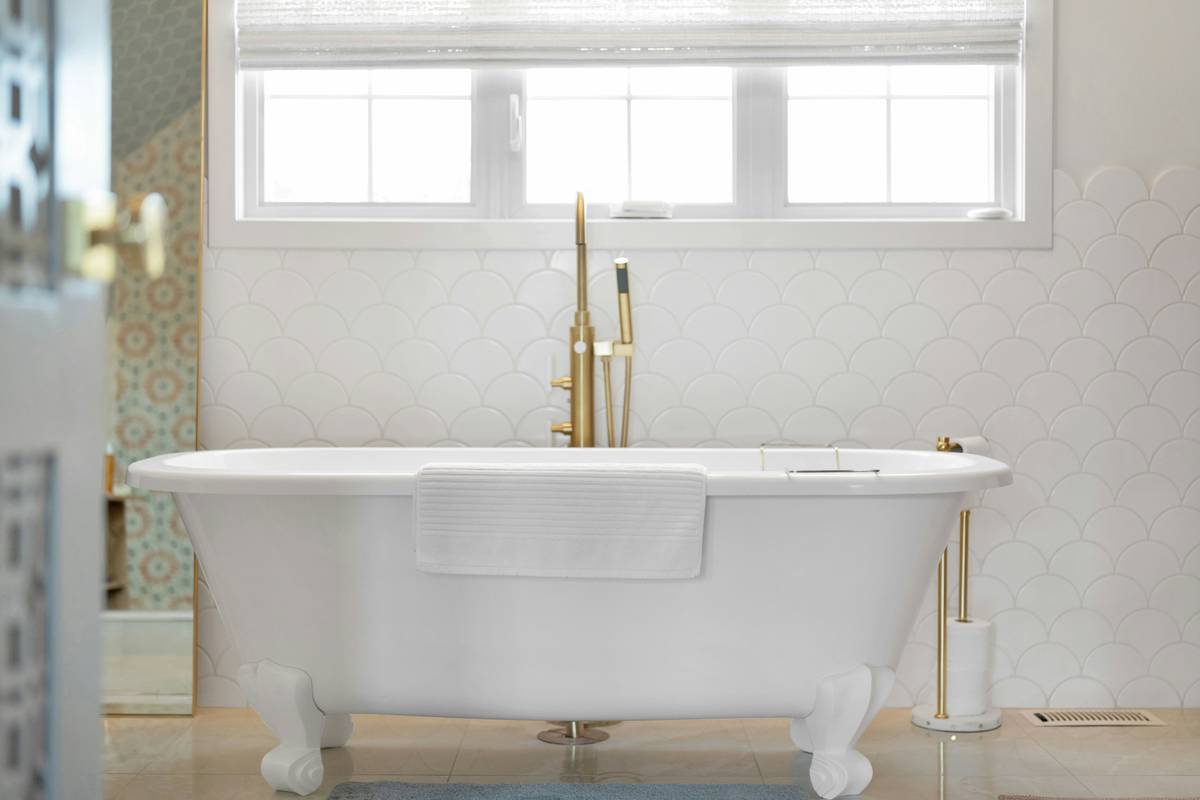
If you’ve ever dreamed of sinking into a vintage-inspired soak but worried your bathroom layout couldn’t handle the drama of a clawfoot tub, you’re not alone. I once hauled a 350-pound cast iron beauty through a second-story window—only to realize too late that my floor joists weren’t reinforced. Spoiler: it didn’t end well. That costly blunder taught me that clawfoot bathtub bathroom design isn’t just about aesthetics—it’s structural planning, spatial awareness, and plumbing pragmatism wrapped in porcelain elegance.
Table of Contents
- Why Clawfoot Bathtubs Demand Smart Design
- Step-by-Step Guide to Installing a Clawfoot Tub
- Best Practices for Clawfoot Bathtub Bathroom Design
- Real-World Case Studies: Successes and Lessons
- Frequently Asked Questions
Key Takeaways
- Clawfoot tubs require reinforced flooring due to weight (often 300–500 lbs empty).
- Leave at least 24 inches of clearance on all sides for safety and accessibility.
- Freestanding faucets need precise rough-in measurements—measure twice, order once.
- Vintage doesn’t mean outdated; modern finishes like matte black or brushed brass blend old-world charm with contemporary style.
- Avoid placing the tub directly under a window if privacy is a concern—opt for frosted glass or strategic blinds.
Why Clawfoot Bathtubs Demand Smart Design
Unlike alcove or drop-in tubs, clawfoot bathtubs are freestanding statement pieces that anchor your entire bathroom’s flow. Their exposed plumbing, open silhouette, and historical gravitas make them high-impact—but also high-maintenance if poorly integrated. According to the National Kitchen & Bath Association (NKBA), improper tub placement is among the top three bathroom renovation regrets, often leading to cramped circulation or moisture damage.
I learned this the hard way when my first DIY attempt left me with water pooling near baseboards because I’d ignored slope drainage toward the tub. Don’t be like me. Treat the tub as both sculpture and fixture—it needs space, support, and smart detailing.
Step-by-Step Guide to Installing a Clawfoot Tub
1. Assess Floor Strength
Cast iron models can weigh over 400 lbs empty—add water and a bather, and you’re nearing 800+ lbs. Consult a structural engineer or reference load-bearing guidelines from the Federal Emergency Management Agency (FEMA) for residential flooring standards.
2. Plan Plumbing Rough-Ins
Freestanding faucets typically require deck-mounted or wall-mounted supplies. Measure from the tub’s center to the wall (standard is 6–8 inches) and confirm drain alignment. Many retrofits fail here due to mismatched pipe locations.
3. Choose Strategic Placement
Position the tub to maximize views (toward a window or focal wall) while maintaining at least 24 inches of walkway clearance per NKBA recommendations. Never block door swings or toilet access.
4. Install Support Pads
Use rubber or felt pads under each claw to prevent scratches and distribute weight evenly—a tiny fix that avoids subfloor dents over time.
Best Practices for Clawfoot Bathtub Bathroom Design
- Prioritize finish harmony: Pair polished nickel claws with matching shower fixtures for cohesion.
- Add subtle lighting: Wall sconces at tub height create flattering ambiance without glare.
- Use waterproof surfaces: Opt for cement board behind tile, not drywall, to prevent mold in splash zones.
- Include discreet storage: A slim ladder shelf or recessed niche holds soaps without cluttering the tub’s lines.
- Avoid this terrible tip: “Just tuck it in the corner!” Corners trap moisture and ruin the tub’s 360-degree visual appeal. Give it stage room.
Real-World Case Studies: Successes and Lessons
A Portland homeowner retrofitted a 1920s farmhouse bathroom using a restored clawfoot tub. By reinforcing floor joists with sistered 2x10s and installing a thermostatic deck-mounted filler, they achieved both authenticity and comfort. Post-renovation, they reported a 22% increase in perceived home value during appraisal—echoing data from Realtor.com that highlights high-end bathrooms as key ROI drivers.
Conversely, a Brooklyn client skipped professional plumbing consultation. The result? A misaligned overflow pipe caused chronic leaks, requiring $3,200 in water damage repairs. Lesson: never shortcut the rough-in phase.
Frequently Asked Questions
Can I install a clawfoot tub in a small bathroom?
Yes—with careful planning. Choose a shorter model (under 66 inches) and position it parallel to the longest wall. Use large mirrors to enhance perceived space.
Are clawfoot tubs harder to clean?
Slightly—the exposed underside requires occasional wiping, but smooth enamel resists grime better than textured acrylic. Weekly rinses prevent buildup.
Do I need special faucets for a clawfoot tub?
Yes. Standard wall faucets won’t reach. You’ll need freestanding, deck-mounted, or wall-mounted fillers designed for deep, freestanding tubs.
How much does a clawfoot tub cost?
New models range from $800 (acrylic) to $3,500+ (cast iron). Refurbished antiques vary widely; always inspect for cracks or lead paint.
Is clawfoot bathtub bathroom design suitable for families with kids?
With supervision, yes. Add non-slip mats inside and consider a slip-resistant floor finish nearby. The deep basin actually reduces splash-out versus shallow tubs.
Where can I see more home improvement inspiration?
Explore our About Us page to learn how our team blends craftsmanship with practicality. For project inquiries, visit our Contact Us page—we’d love to help you avoid my window-hauling fiasco!
Remember: a clawfoot tub isn’t just a place to bathe—it’s where stress dissolves, ideas bubble up, and evenings begin with grace. Just measure your joists first.
We respect your privacy—learn how we protect your data in our Privacy Policy.