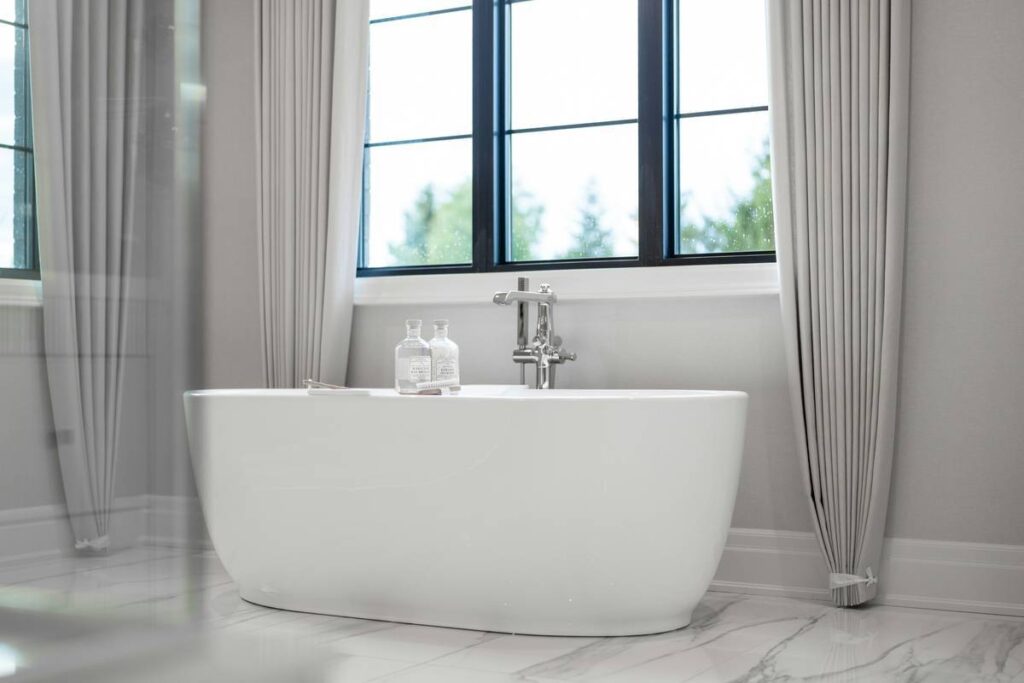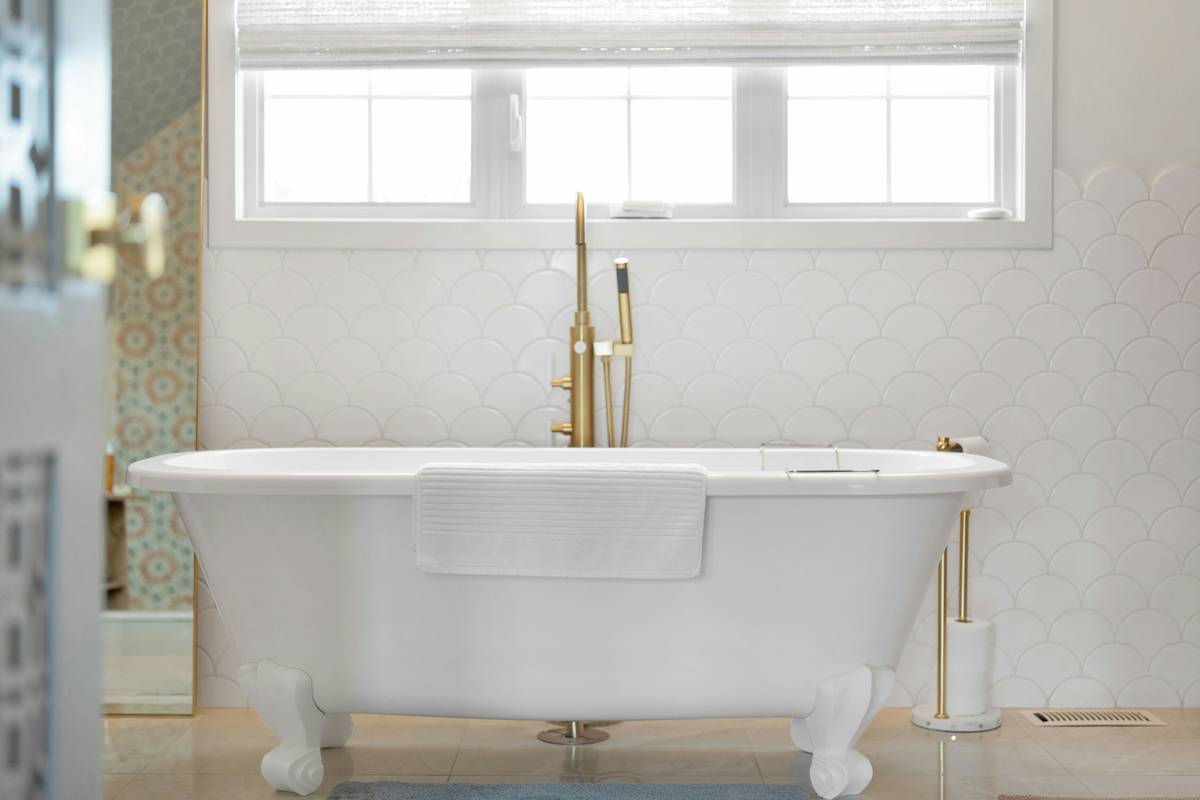
You spent thousands on that vintage-inspired centerpiece—the clawfoot tub. Yet every time you step into your bathroom, something feels… off. The space looks more like a museum exhibit than a sanctuary. Cold tile underfoot. Awkward faucet reach. Nowhere to put your towel without bending over mid-soak. It’s beautiful—but functionally broken. Here’s how to transform your bathroom with clawfoot bathtub from Instagram bait into a daily ritual worth savoring.
Why Most Clawfoot Tub Setups Fail Spectacularly
Clawfoot tubs aren’t just fixtures—they’re spatial disruptors. Unlike alcove tubs that tuck neatly between walls, freestanding models demand rethinking the entire room flow. Yet 90% of homeowners treat them like drop-in replacements. Big mistake.
They ignore drainage logistics. They forget about access clearance. They place the tub directly against a cold exterior wall—guaranteeing condensation and discomfort in winter. And worst of all? They assume “vintage” means sacrificing modern comfort. Nope. Not if you know the rules.
How to Design a Functional (and Gorgeous) Bathroom With Clawfoot Bathtub
Forget cookie-cutter layouts. True elegance lives in the details you control—not the tub itself. Follow this battle-tested sequence:
Step 1: Audit Your Floor Structure
Clawfoot tubs concentrate weight on four small feet—up to 1,000 lbs when full. Older homes with subpar joists? You’ll hear creaks… then cracks. Reinforce before installation. Always.
Step 2: Choose Your Faucet Configuration Wisely
Deck-mounted faucets look sleek but require drilling into cast iron—a one-shot gamble. Wall-mounted units offer flexibility but eat into shower clearance if you’re adding one. Floor-mounted? Dramatic—but demands precise plumbing alignment beneath floorboards. Measure twice. Sleep easy forever.
Step 3: Build Zones, Not Just Space
A clawfoot tub forces asymmetry. Use it. Create three micro-zones: soak zone (tub + stool), prep zone (vanity + mirror), and dry zone (towel storage + robe hook). This prevents the “everything feels scattered” effect.

| Installation Approach | Avg. Cost Range | DIY Feasibility | Long-Term Annoyances |
|---|---|---|---|
| Retrofitted Vintage Tub | $800–$2,500 | Low (requires re-enameing, leak testing) | Frequent resealing, inconsistent drain speed |
| New Cast Iron w/ Modern Drain | $1,500–$4,200 | Medium (heavy lifting, precise leveling) | Minimal—if installed on reinforced subfloor |
| Acrylic Replica | $600–$1,800 | High | Poor heat retention, scratches easily |
Step 4: Solve the Towel Problem
No one talks about this. Where do towels go during a soak? A heated wall rack within arm’s reach beats bending over or dripping across the floor. Mount it on the same wall as your controls—muscle memory takes over.
The Industry Secret No Showroom Will Tell You
Here’s what contractors whisper about over coffee: clawfoot tubs perform better when slightly elevated. Not visibly—just 1.5 inches via custom foot risers or a low platform. Why? Three reasons. One: easier access for seniors or stiff joints. Two: cleaner lines when paired with floating vanities. Three—and this is critical—it creates space underneath for hidden storage trays (for bath salts, candles, remotes). Most clients never ask. But once they see it? Game over for standard installs.
And yes—it voids no warranties if done right. Use marine-grade plywood sealed in epoxy. Trust me.
Frequently Asked Questions
Can you install a shower over a clawfoot tub?
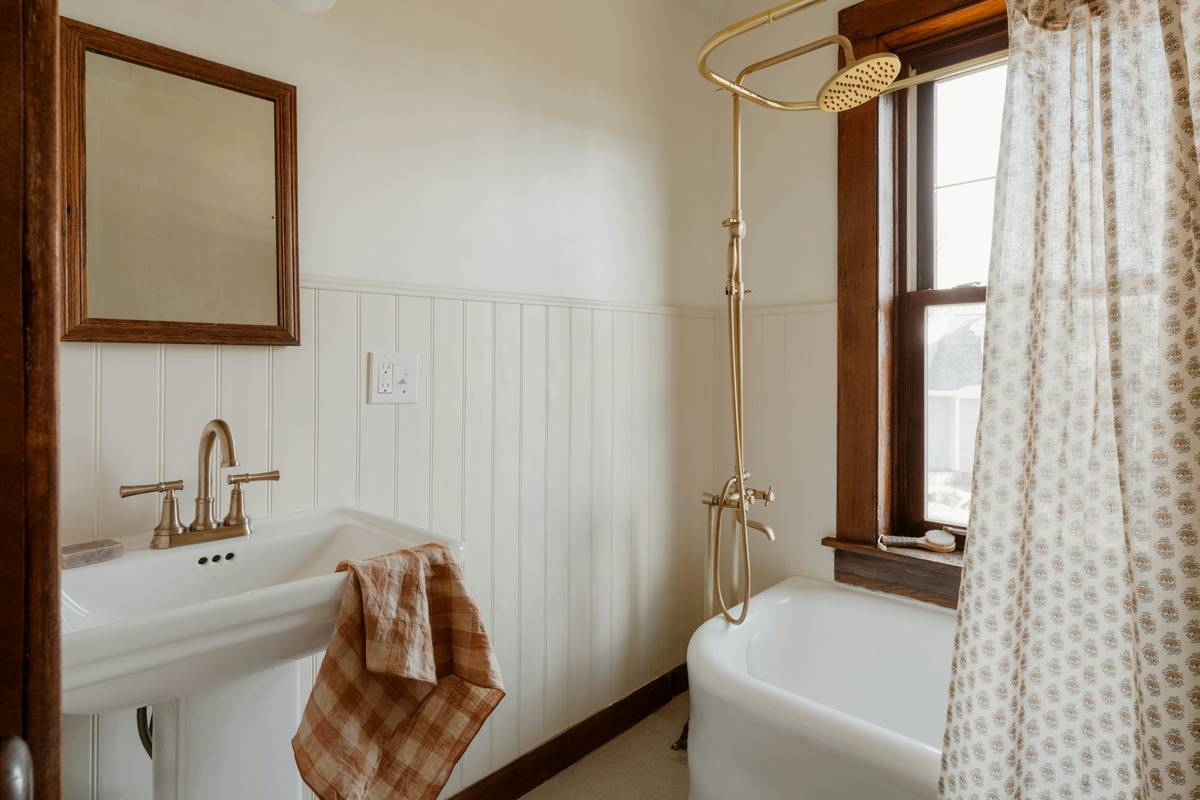
Yes—but only with a proper overhead rail system anchored to ceiling joists. Free-standing rods wobble and leak. Skip the curtain; use frameless glass panels for true luxury.
How much space do you need around a clawfoot tub?
Minimum 24 inches on all sides for cleaning and access. For dual users or plus-size comfort, aim for 30–36 inches. Cramped = claustrophobic, not cozy.
Are clawfoot tubs hard to keep clean?
Only if you skip the wax seal. Apply automotive paste wax monthly to the enamel—it repels soap scum like Teflon. Takes 90 seconds. Changes everything.