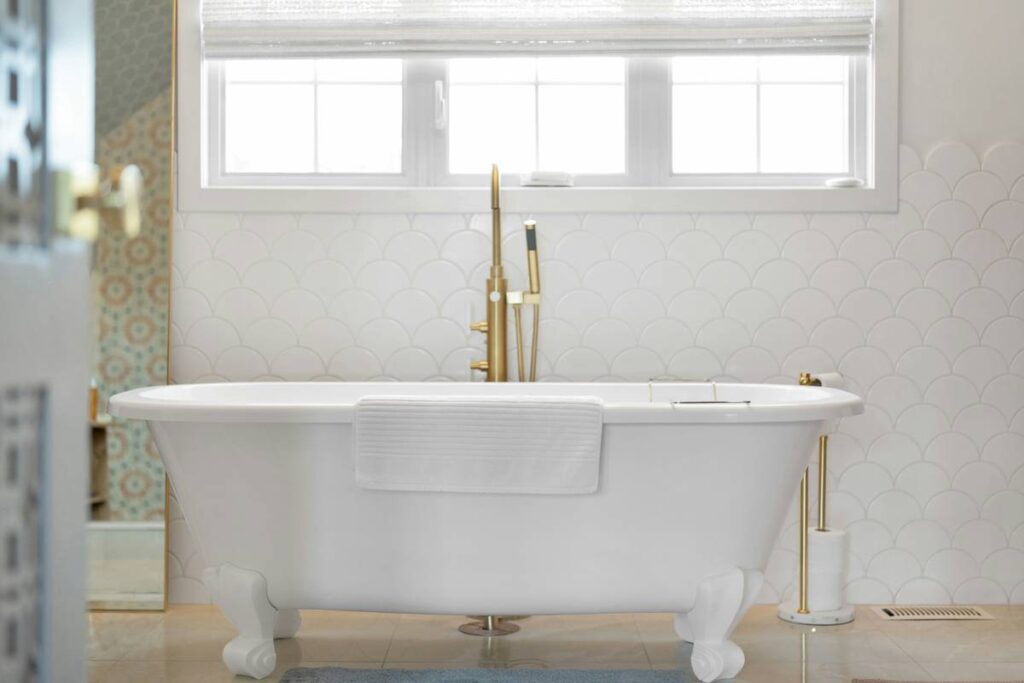
You found a vintage tub at a salvage yard—gorgeous porcelain, classic curves—but the claw feet for bathtub? Missing. Rusted shut. Or worse: replaced with cheap plastic knockoffs that scream “DIY disaster.” Now your dream renovation stalls before it starts. Here’s the fix: stop treating bathtub claws like hardware. They’re sculpture. And getting them right changes everything.
Why Most “Claw Feet for Bathtub” Projects Fail
People bolt on whatever fits. That’s the problem. Claw feet aren’t generic bolts—they’re load-bearing art pieces engineered to distribute hundreds of pounds across uneven subfloors. Use mismatched or undersized feet, and you’ll get micro-shifts, cracked enamel, or worse—a catastrophic collapse during a deep soak.
And most online retailers? They ship “universal” feet that assume your tub has standard 1½-inch threaded inserts. But pre-1940 tubs often used tapered pins, square sockets, or even cast-iron lugs welded directly to the basin. No adapter exists. You’re forced into hacks involving epoxy or jury-rigged brackets—which never age well.
Your Step-by-Step Guide to Installing Period-Correct Claw Feet
Step 1: Identify Your Tub’s Mounting System
Flip the tub (yes, really). Look for threaded holes, square notches, or protruding stubs near each corner. Measure depth and diameter with calipers—not a tape measure. A 1/16-inch error means wobble. Forever.
Step 2: Match Material to Era & Weight
Pre-WWII tubs used solid cast iron feet—dense, heavy, virtually indestructible. Post-war models shifted to ductile iron or brass-plated steel. Don’t downgrade. If your tub weighs 300+ lbs empty, only cast iron absorbs vibration without fatigue. Cheap zinc alloys crack under bathroom humidity cycles.
Step 3: Level Like a Mason—Not a Handyman
Shims under claw feet look amateurish. Instead, machine custom stainless steel washers to compensate for floor pitch. Even a 0.5° slope creates torque that stresses porcelain seams over time. Rent a precision laser level—it’s cheaper than re-glazing later.
| Foot Type | Best For Tubs From | Load Capacity | Average Cost (Each) |
|---|---|---|---|
| Solid Cast Iron (Lion Paw) | 1890–1940 | 500+ lbs | $120–$220 |
| Ductile Iron (Ball & Claw) | 1940–1970 | 350 lbs | $80–$140 |
| Zinc Alloy (Modern Repro) | Post-1980 | 250 lbs | $35–$65 |
The Industry Secret: Why Restoration Pros Never Buy “Complete Sets”
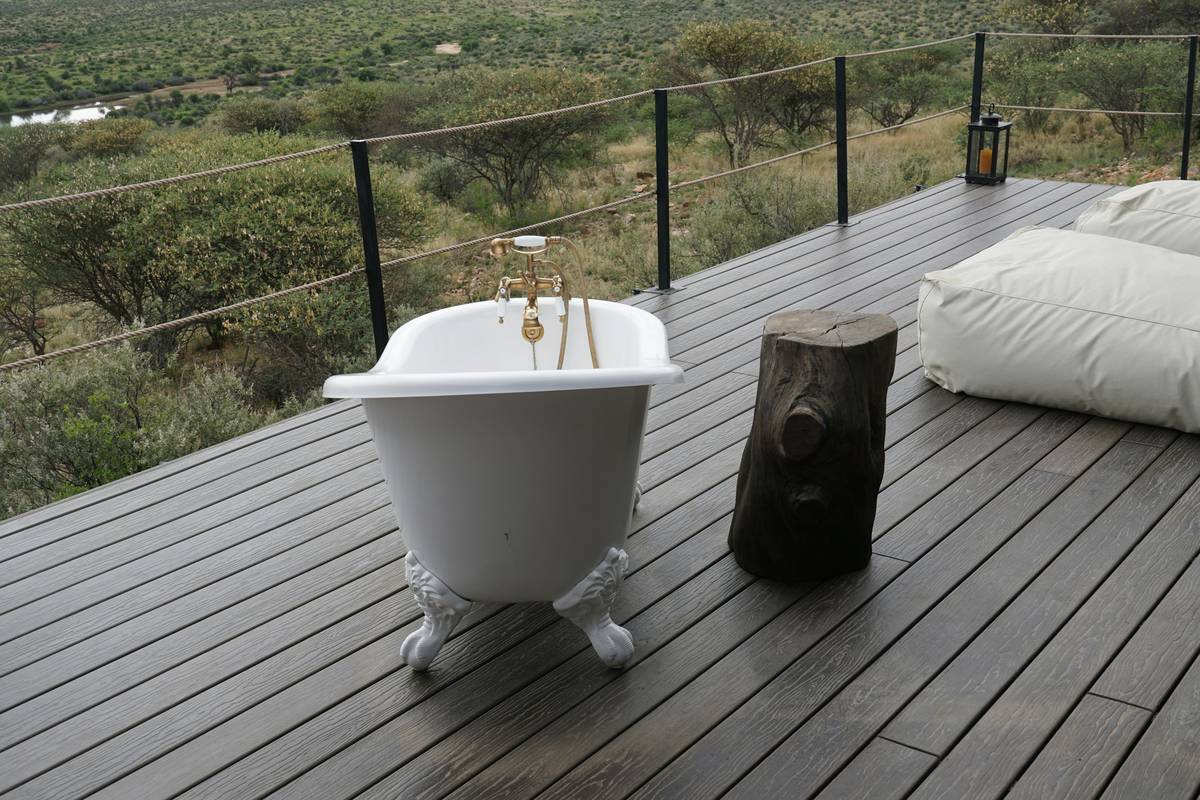
Here’s what no showroom tells you: original claw feet were hand-finished. Each pair had subtle variations—patina depth, tool marks, even slight asymmetry. Buying a matched modern set looks sterile next to a century-old tub. Smart restorers hunt individual vintage feet from architectural salvage yards or eBay sellers specializing in plumbing antiques. Yes, it takes longer. But when light hits that aged bronze finish just right? It whispers history—not Home Depot.
The math is simple: spend 20% more on period-correct feet now, or spend 200% later fixing cracks caused by ill-fitting repros.
Frequently Asked Questions
Can I reuse old claw feet if they’re rusty?
Only if rust hasn’t pitted the mounting threads. Soak in vinegar for 48 hours, then inspect with a thread gauge. Pitting = structural weakness.
Do claw feet for bathtub come in different heights?
Yes. Standard is 5–7 inches, but custom heights exist for step-in conversions. Never cut them down—that compromises integrity.
Are plastic claw feet ever acceptable?
Never for permanent installs. They flex under load, creating enamel stress fractures. Save them for temporary photo shoots only.